This video is about the issue with Smart table , when it develops this CMOS checksum error.
Introduction
Smart Interactive Tables have become an invaluable resource in early years education, fostering collaborative learning and interactive play. However, even the most reliable tools can encounter issues, and one of the common problems users face is the dreaded “CMOS checksum error.” In this guide, we will delve into the causes of this error and provide you with a step-by-step solution to get your Smart Interactive Table back in working order.
Understanding the Smart Interactive Table
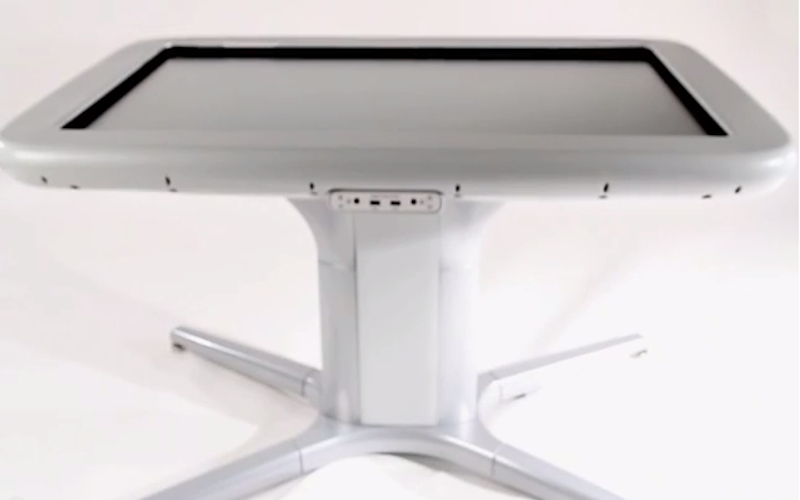
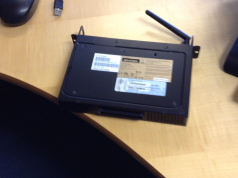
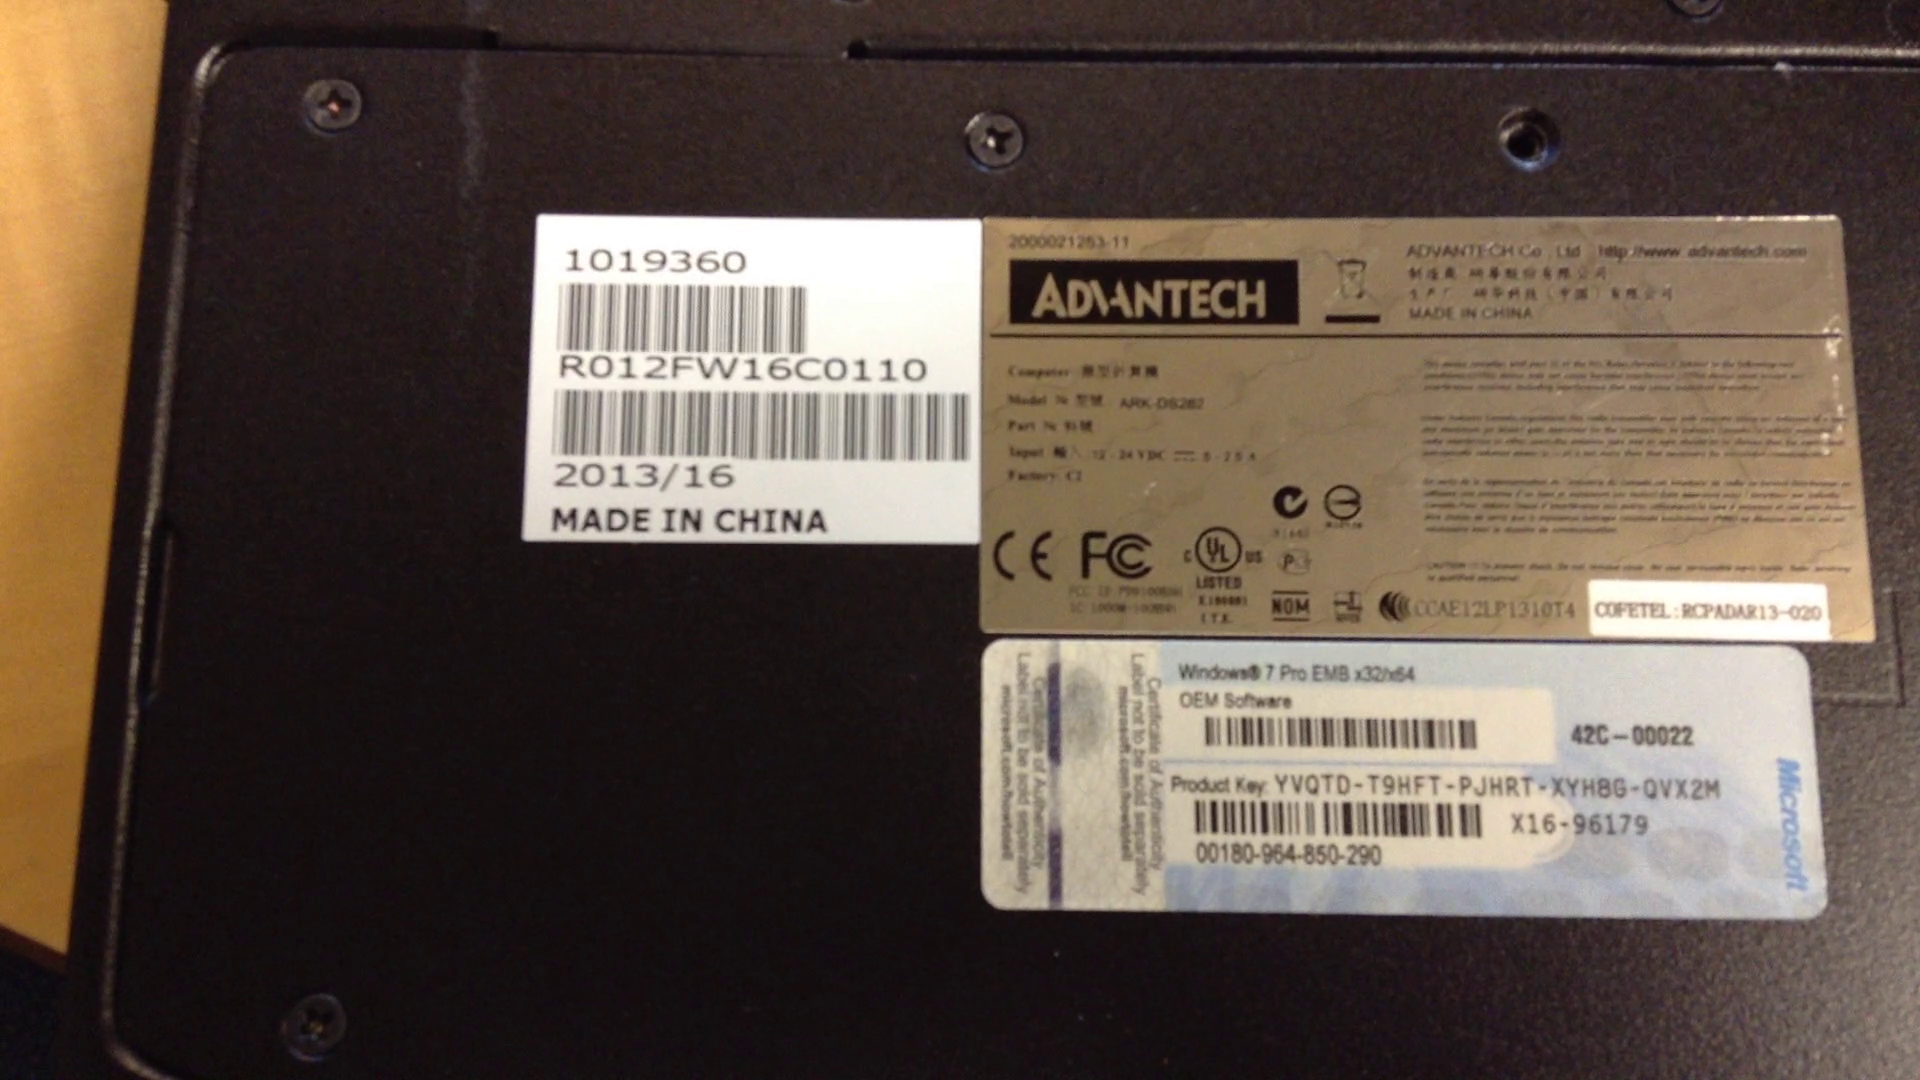
Before diving into the troubleshooting process, let’s take a moment to appreciate what the Smart Interactive Table brings. This educational gem is a staple in many primary schools in the UK. It accommodates multiple learners simultaneously, boasting a 42-inch LCD display and weighing around 25 pounds (or 11 kg). The real magic happens when you explore the plethora of ready-made activity packs available for download from the Smart Exchange website.
The CMOS Checksum Error Dilemma
Imagine turning on your Smart Interactive Table, expecting an exciting learning experience, only to be greeted by the pesky “CMOS checksum error” message. This error typically arises due to a conflict between the CMOS (Complementary Metal-Oxide-Semiconductor) and BIOS (Basic Input/Output System) values.
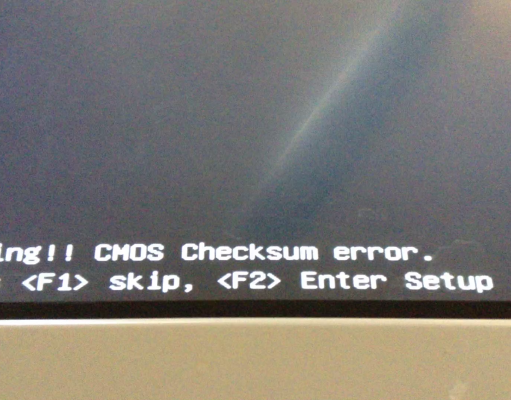
In simple terms, the CMOS stores a value when you shut down your computer, which must match another value generated by the BIOS when you start your device. If these values don’t align, you encounter the dreaded error.
The Solution: Replacing the CMOS Battery
Thankfully, the solution to this problem doesn’t require advanced technical skills or a motherboard deep dive. The culprit in this scenario is a tiny, button-shaped CMOS battery. Here’s a step-by-step guide to resolving the CMOS checksum error:
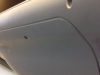
1. Access the Battery Compartment
Locate the compartment housing the CMOS battery. It’s conveniently covered by a latch, so undo the latch to access the battery unit.
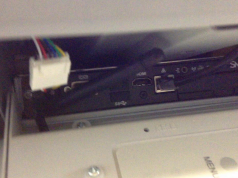
2. Disconnect Power and Network Cables
Before proceeding further, disconnect the power connector and network cable connected to the unit. This ensures safety during the battery replacement process.
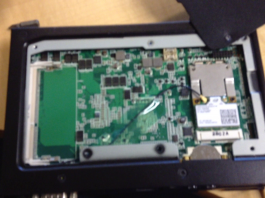
3. Remove the Unit
Next, unscrew the two screws, one at each end,holding the unit in place. Once removed, the unit should come off easily, revealing the internal components.
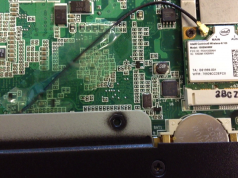
4. Expose the CMOS Battery
Inside the unit, you’ll find a circuit board. To access the CMOS battery, gently pry something across it to create more room. Be cautious not to damage any circuitry during this process.
5. Replace the CMOS Battery
Carefully replace the old CMOS battery with a new CR battery. Ensure it’s securely in place.
6. Reassemble the Unit
Put everything back together in reverse order. Reattach the unit to the table, securing it with the five screws you removed earlier. Reconnect all cables and power sources.
7. Initial Boot and BIOS Configuration
When you power on the unit for the first time after replacing the battery, expect to see the checksum error again. Press “F” to enter the BIOS setup, where you can adjust the date and time settings to match the current values.
8. Save Settings and Reboot
Save your changes in the BIOS and let the unit reboot. It should now start without encountering the CMOS checksum error.
Conclusion
With a straightforward battery replacement procedure, your Smart Interactive Table can rejuvenate, ready to empower young learners again. After following these steps, consider updating the device with the latest Windows updates and resources from the Smart website to ensure it operates at its full potential. Now, your interactive learning centre is back in action, providing countless hours of educational fun for students in primary schools across the UK.


